Back to overview
Infill panels: everything you need to know
Are you planning to order a custom wardrobe but have questions about the infill panels? No worries, we're here to help. In this article, we'll explain what infill panels are and the options available to you.
What are infill panels?
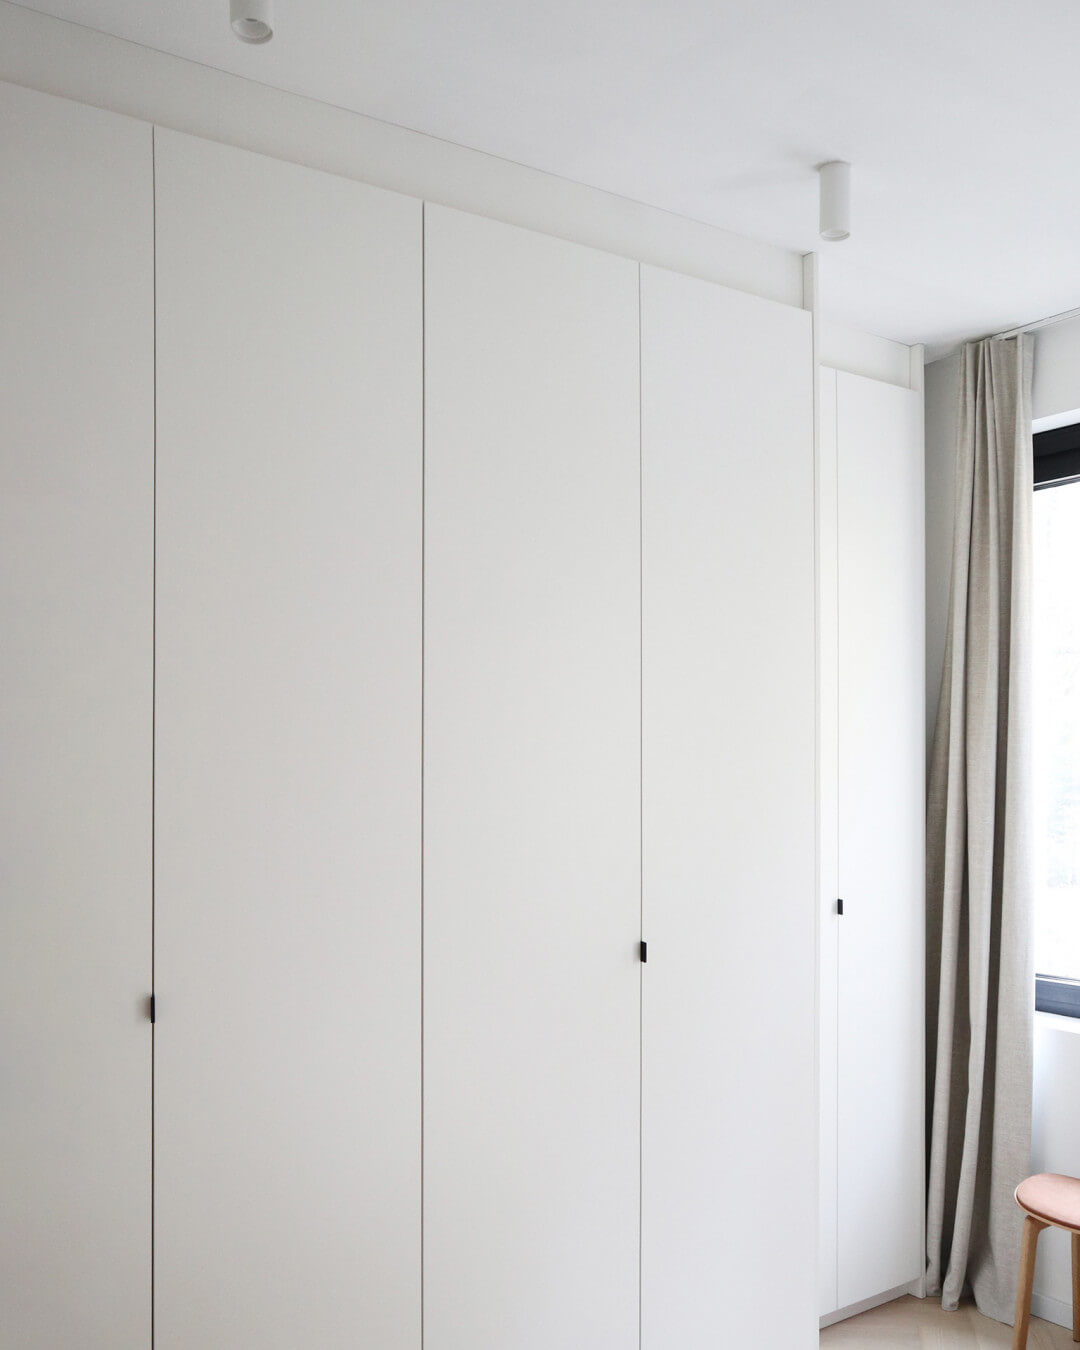
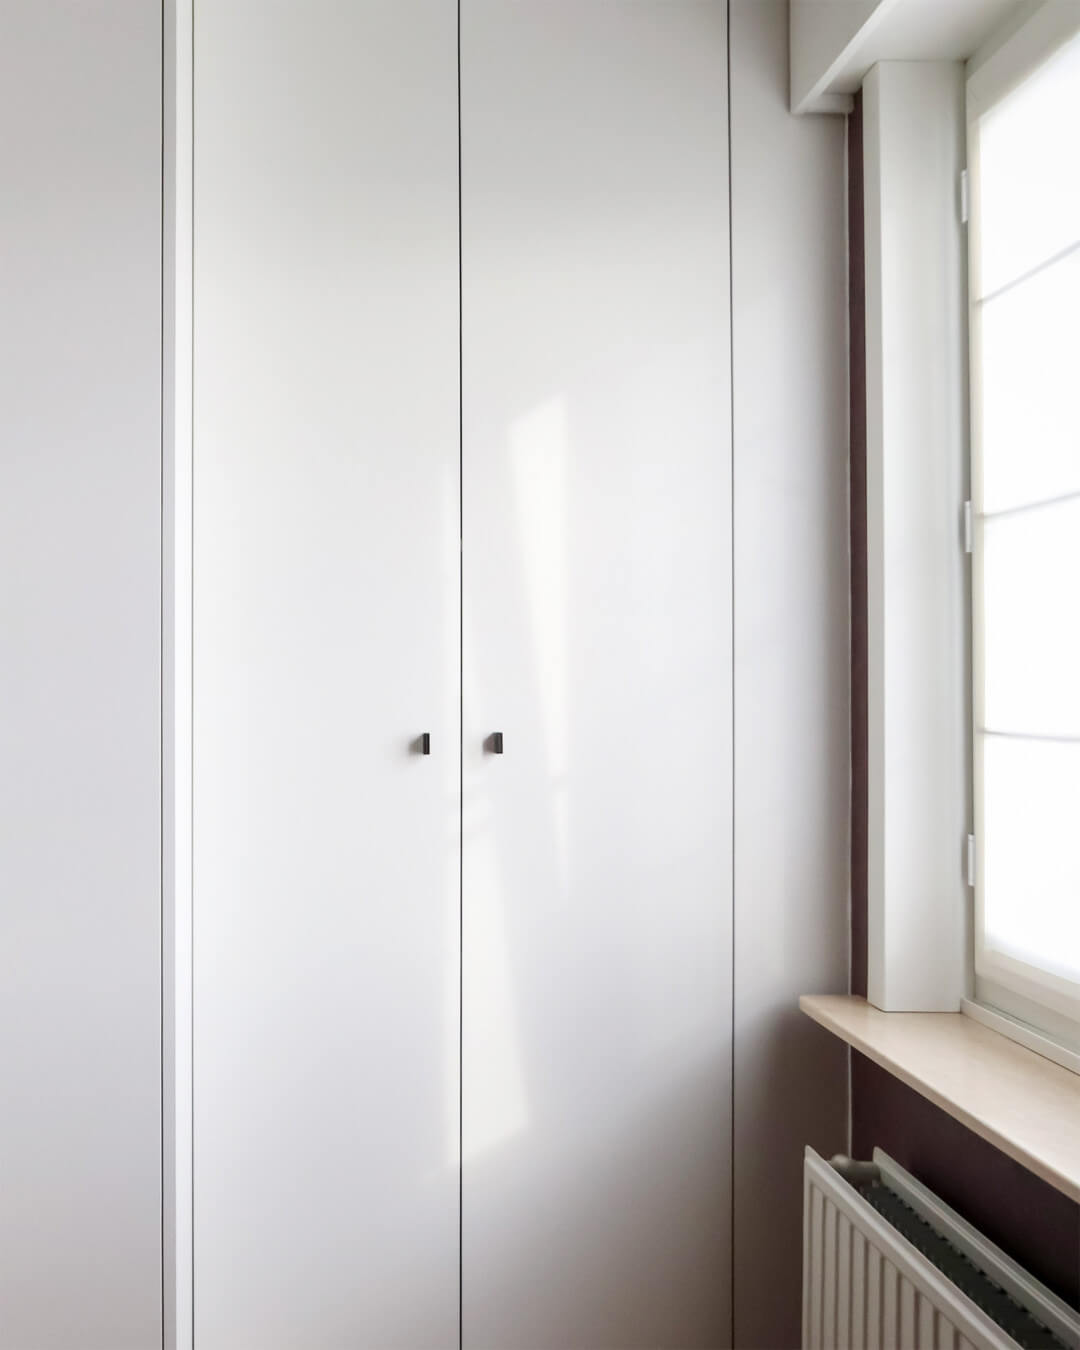
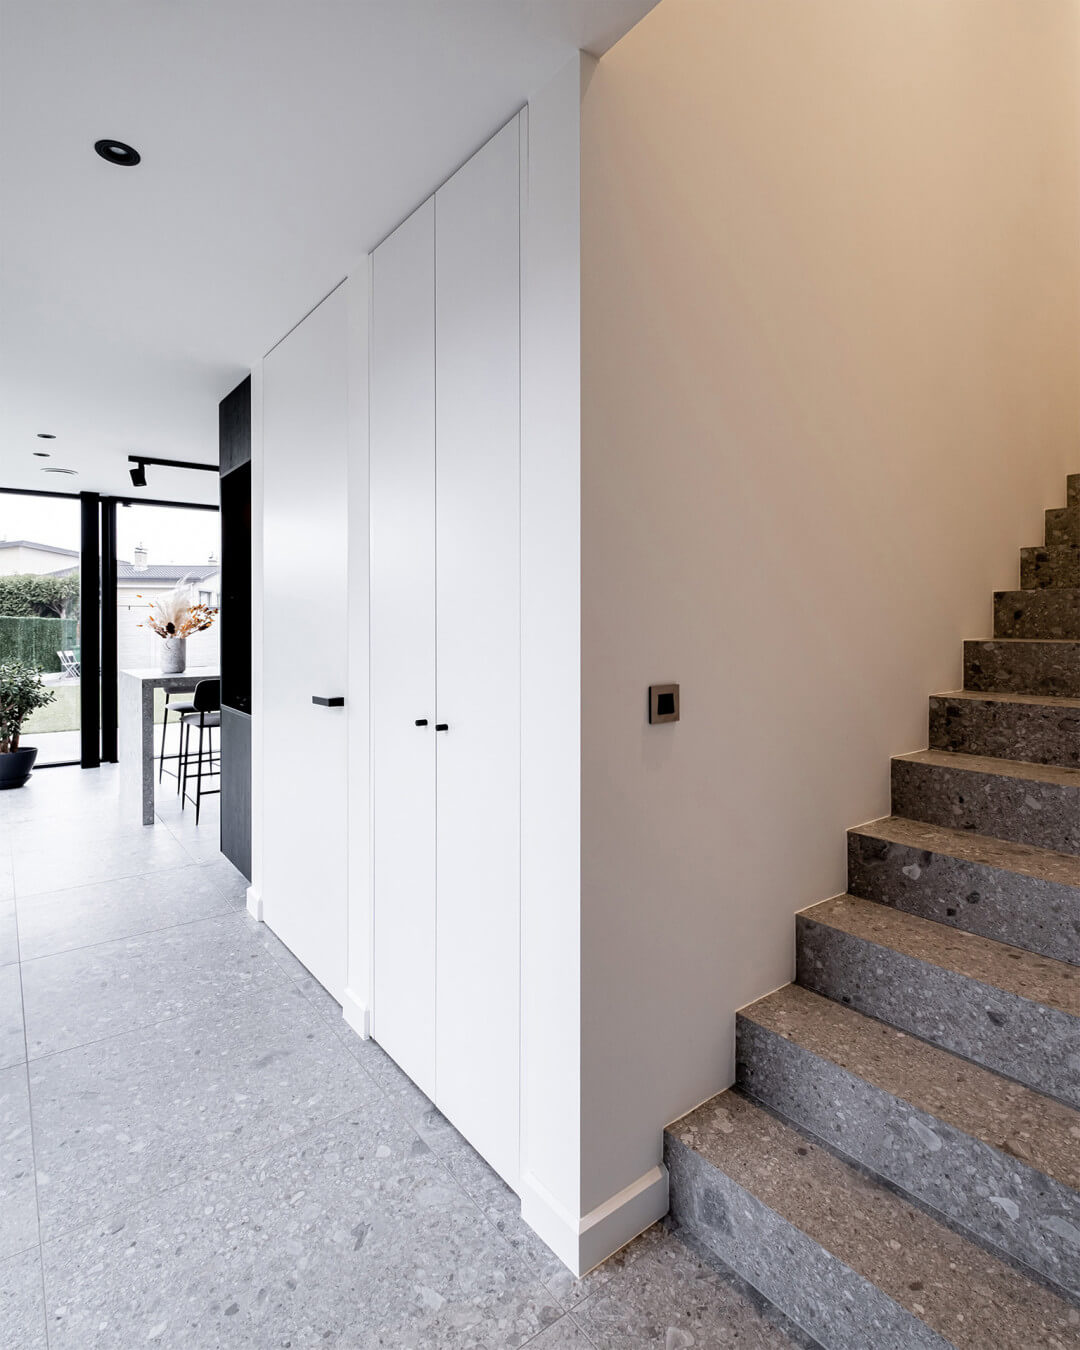
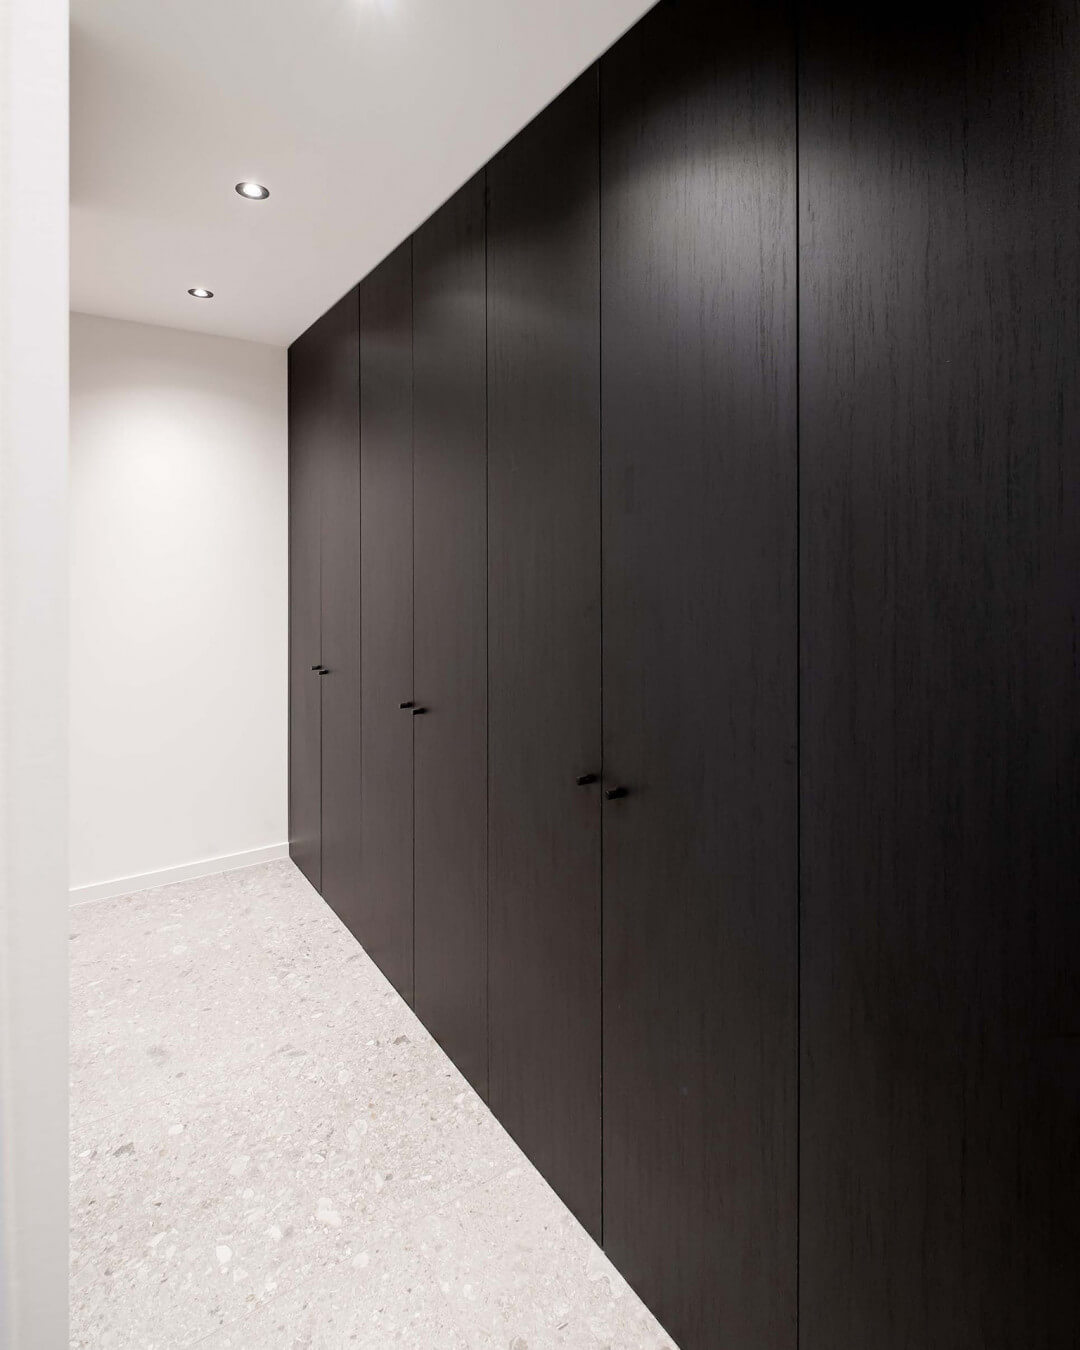
Infill panels surround your wardrobe and connect it to the floor, walls, and ceiling. On the sides, we provide long infill panels; on top of the wardrobe, you place the upper infill panel (or ceiling filler), and at the bottom, there's a plinth for the base feet. The infill panels on the left and right are flush with the doors, creating a seamless built-in effect. We deliver all infill panels in the same color as your wardrobe doors, ensuring a cohesive look for your fitted wardrobe.
When taking measurements, you don't need to account for the infill panels. Our handy tool automatically calculates the space required for your infill panels. The side panels are standard 5 cm wide on both sides, 3 cm at the top, and 8 cm at the bottom. So, you can measure from wall to wall and from floor to ceiling.
More measurement details can be found here: Easily measure yourself
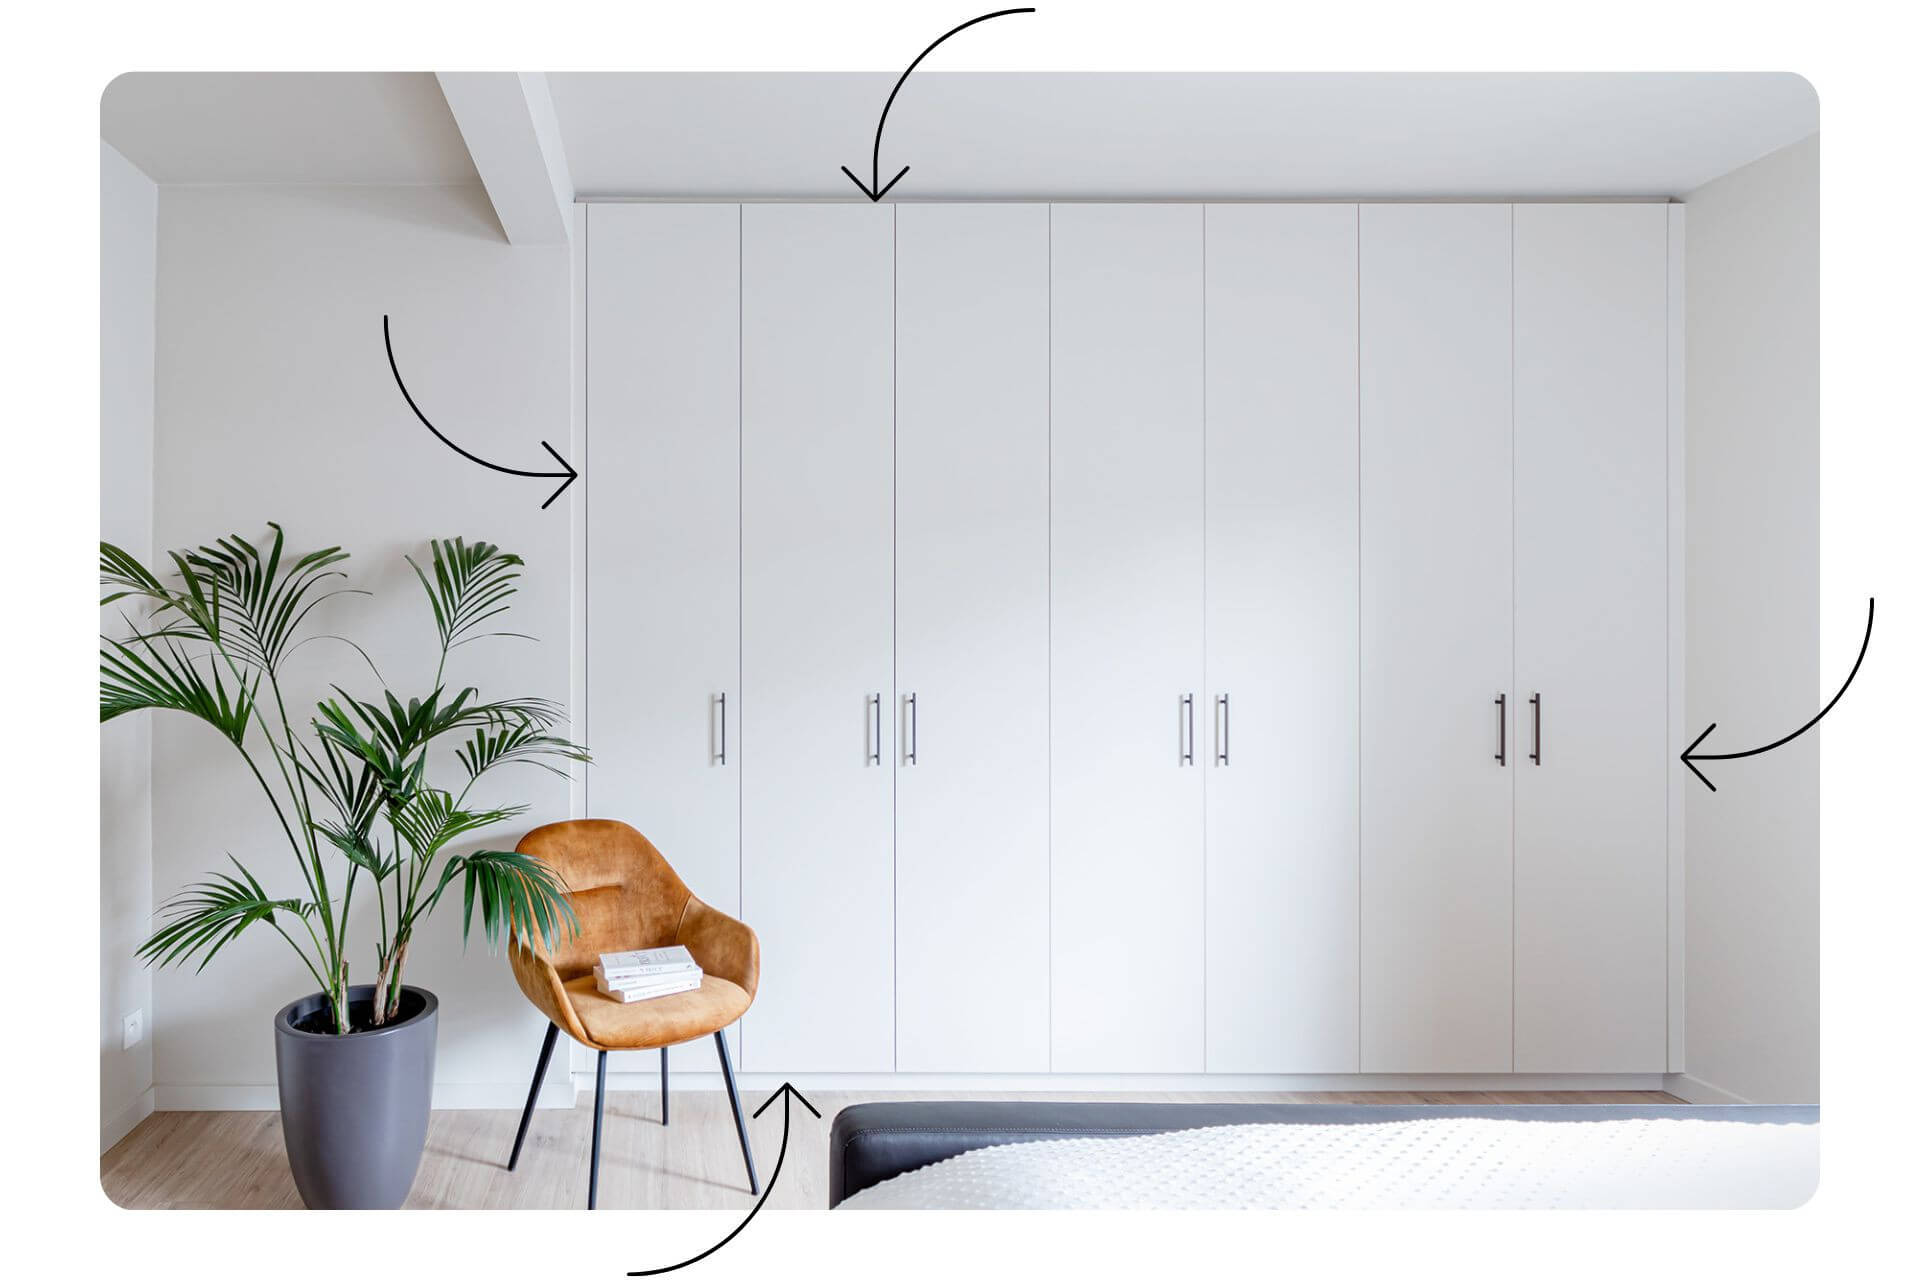
Example: Built-in wardrobe with infill panels all around.
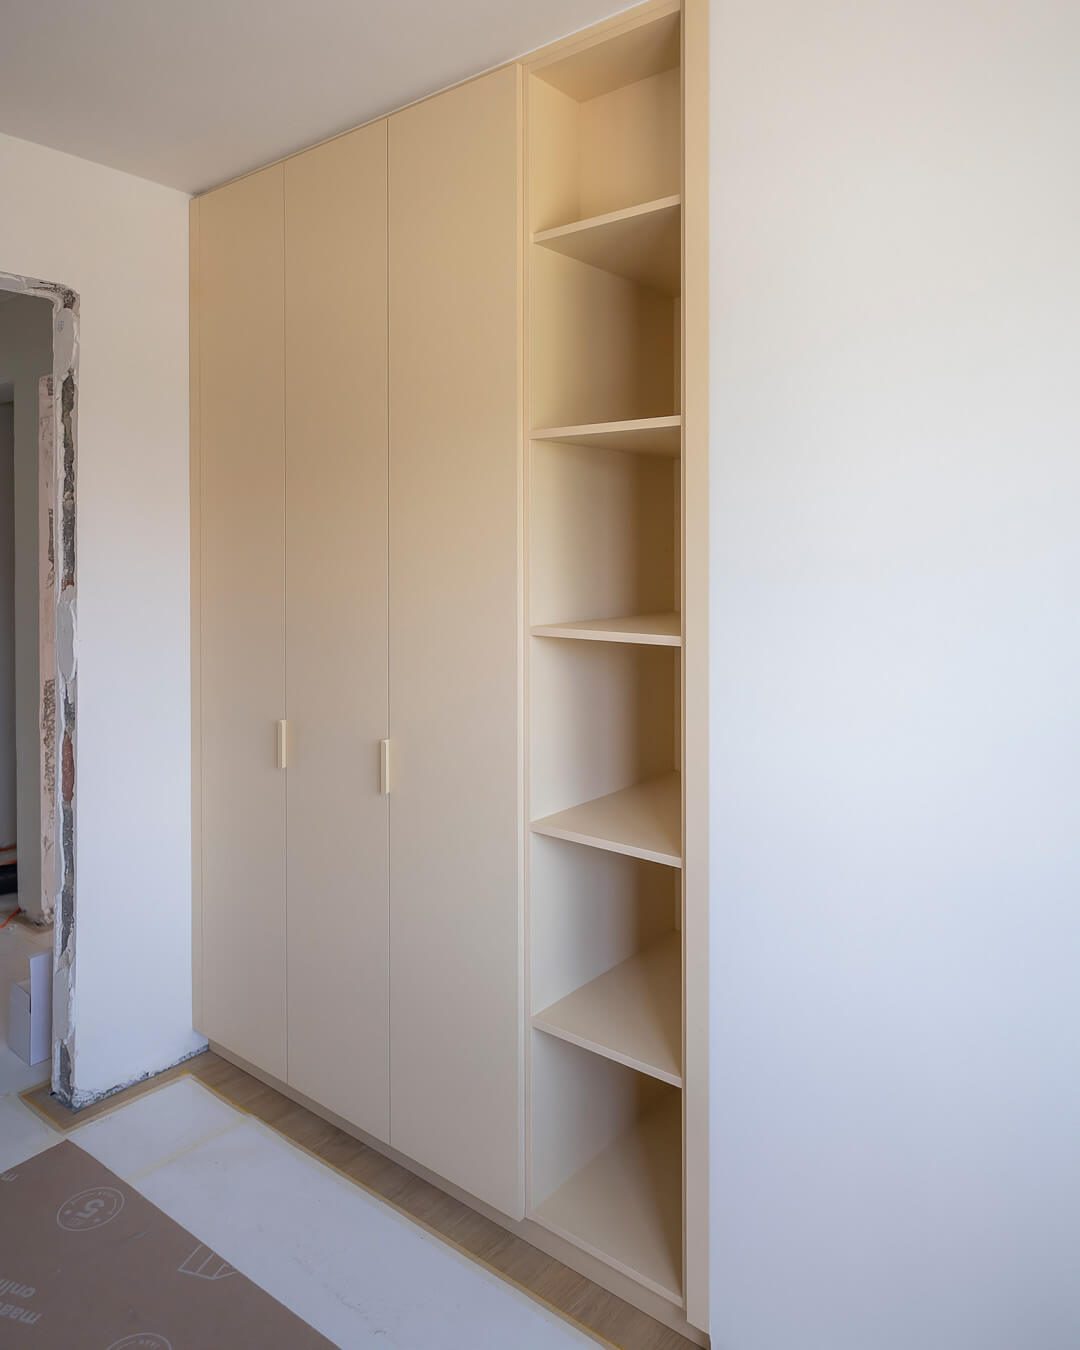
Example: Right-side infill panel for a floating dresser.
The Advantages of Infill Panels
Our unique infill panel system offers only benefits. It has been specially designed to make your built-in wardrobe even more beautiful and easier to install. But why?
✓ A finely finished look
You could place your wardrobe without infill panels, but that wouldn't look as nice. Finishing panels provide that neat, polished look that is characteristic of custom-made pieces. By eliminating gaps between your bespoke wardrobe and the walls, you create a calm ambiance where your wardrobe seamlessly blends into your space.
✓ The solution for crooked walls...
Crooked walls or corners that aren't perfectly 90 degrees? Not a problem with our custom wardrobes! You can order an infill panel that's slightly angled, discreetly concealing these imperfections. Ideal for renovated homes!
✓ ...and sloping ceilings!
Even for sloping ceilings, an infill panel offers a solution. You can order an upper infill panel that's higher on one side than the other. This way, you can fit a stylish custom wardrobe in any type of space.
✓ Practical and tidy
Infill panels aren't just aesthetically pleasing; they're also practical. They make your wardrobe easier to maintain by preventing dust from accumulating behind or beside the cabinets. This means less cleaning effort. And our wardrobes were already easy to maintain!
✓ Protection
The plinth at the bottom of your custom wardrobe also acts as a protective toe kick. It safeguards the cabinet when you walk by, vacuum, or clean.
✓ No measuring errors
Thanks to the infill panels, you don't need to worry about measuring inaccuracies. Simply measure from wall to wall and from floor to ceiling. If you order the panels slightly larger, you'll have some wiggle room during installation. Or would you prefer to have the infill panels delivered after your wardrobe is in place? Discover the three options below that make measuring even easier.
Something for everyone: 3 infill panel options
At Custom Wardrobes Online, we offer three options for ordering your infill panels, depending on your wardrobe and space:
- 'Custom-fit' infill panels
If you've chosen a straight wardrobe, like a dressing wardrobe, for a perfectly rectangular room, such as in a new house, you can have custom-fit infill panels delivered. They're included in your DIY kit, allowing you to finish your entire wardrobe in one go. Simply slide them between your wardrobe and the wall, and you're done.
- 'Oversized' infill panels
Our most popular option is to have the infill panels delivered slightly oversized. This way, you can trim them to size yourself. This provides some flexibility, which is handy when your wardrobe isn't perfectly centered on your walls. We also recommend this option for wardrobes with sloping sides, as it ensures a great result with ease.
- Custom-fit Infill panels 'delivered later'
A third option is to have custom-fit infill panels delivered later. After installing the wardrobe, simply measure the distances between the wardrobe and the walls and ceiling. Send these measurements to us at aftersales@maatkastenonline.be, and we'll craft perfectly fitting infill panels in our workshop and deliver them to your home. This is the easiest option, guaranteeing a beautiful result, even for spaces with crooked walls and wardrobes with sloping sides. And you won't need to do any cutting! For this added service and delivery, we charge an additional fee of €79, including VAT.
When placing your order for a custom-made wardrobe, you'll be prompted to choose from these three options. It's good to know that you can order additional infill panels and have them delivered anytime, regardless of your choice. We're always here to help!
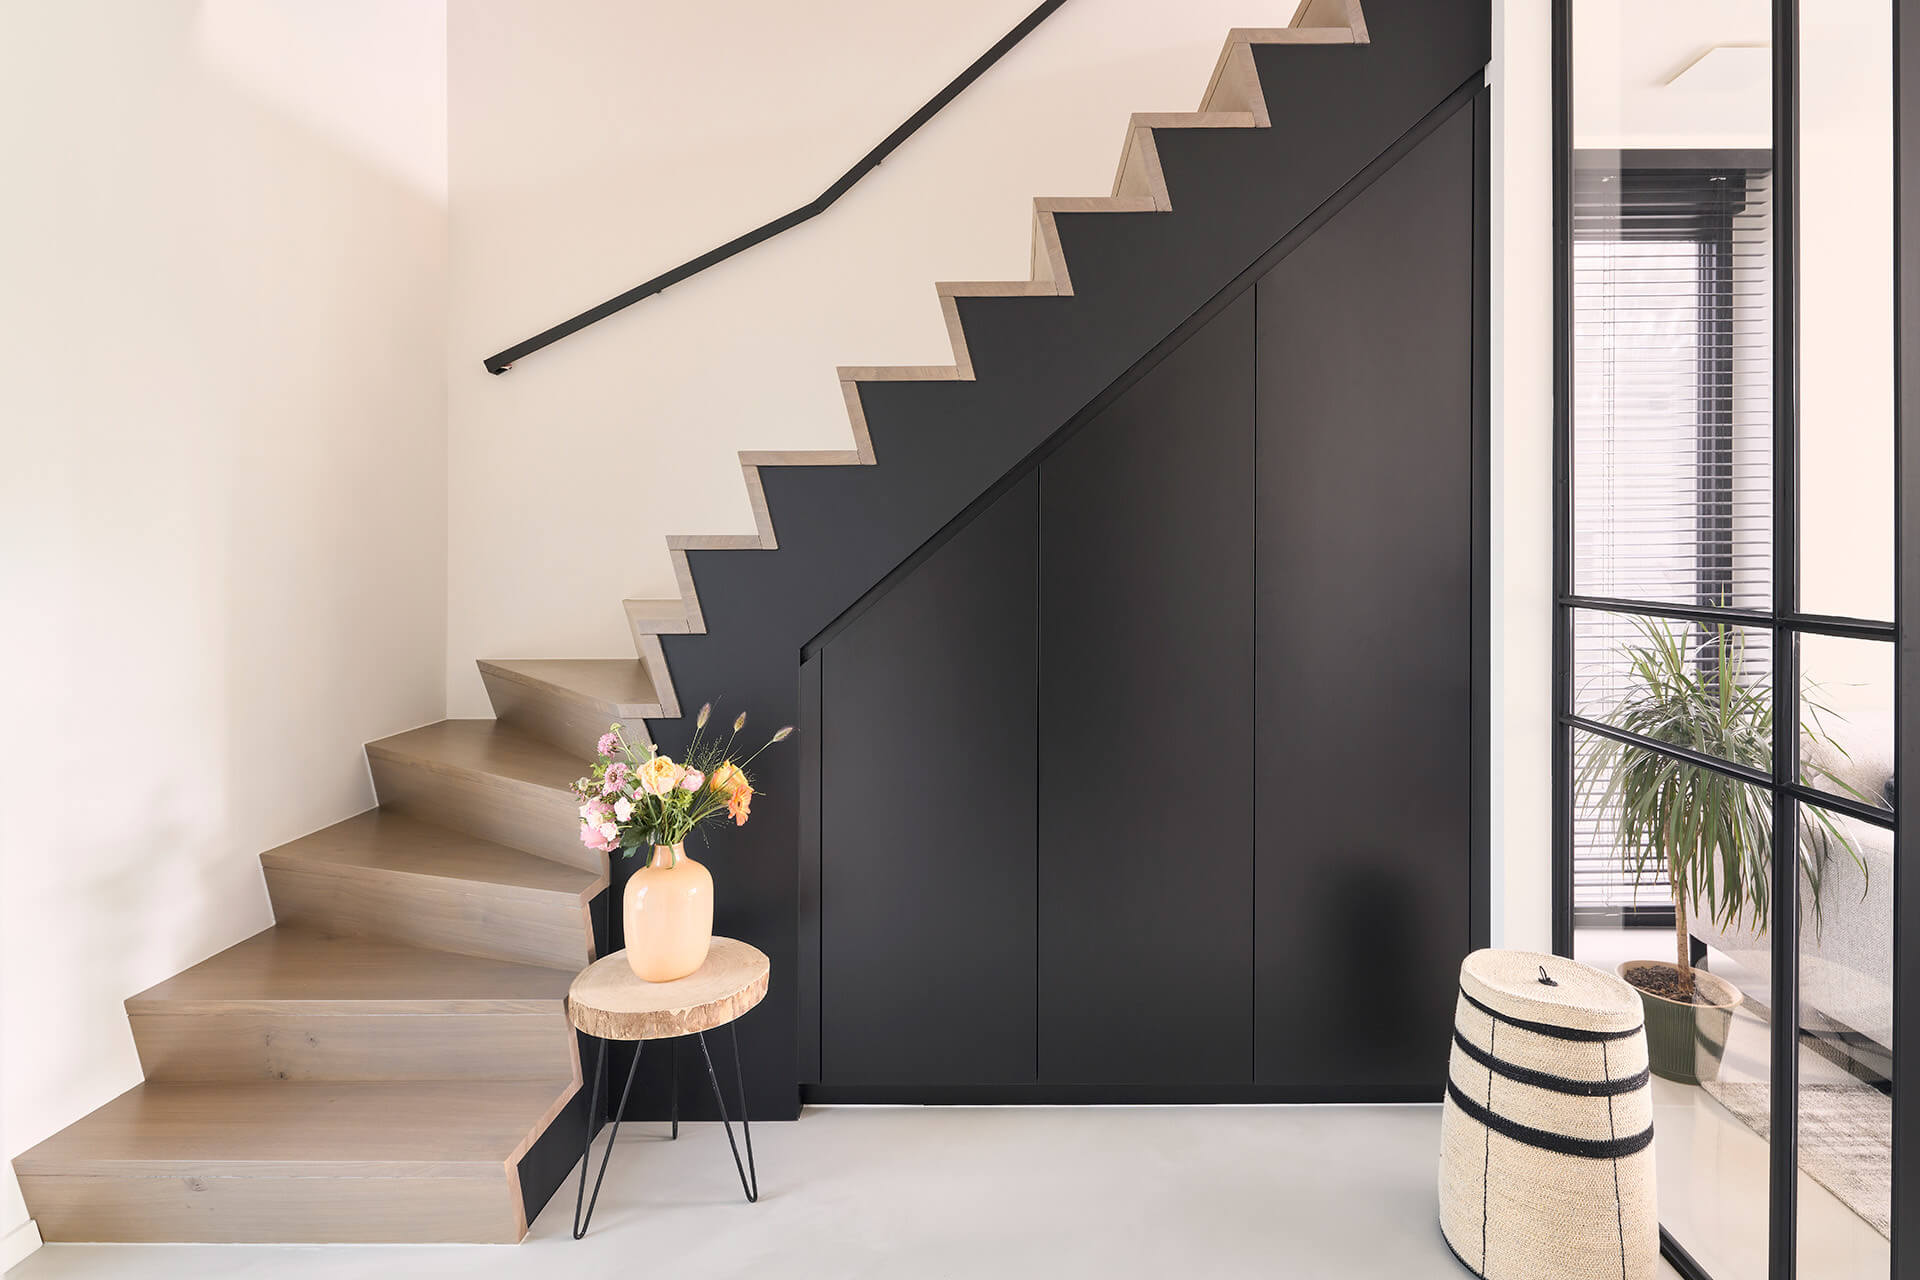
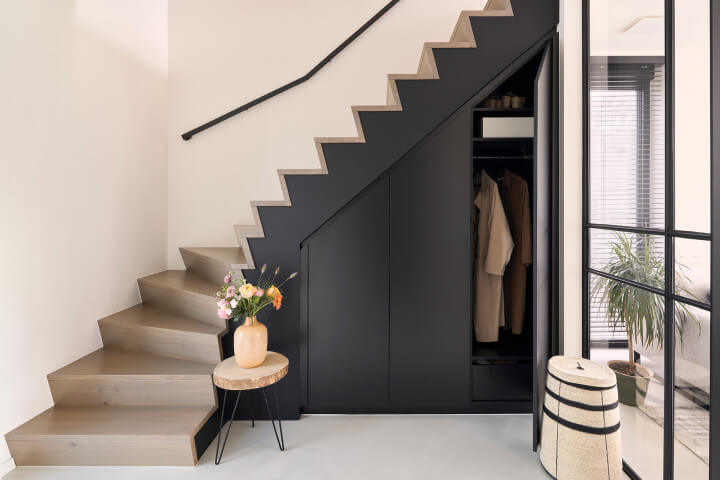
For custom wardrobes under a staircase or sloping ceiling, the infill panels are perfectly tailored to the slanted angle. Color: Diamond Black.
Want to make the infill panels wider?
By default, our standard infill panels are set to 5 cm on the left and right sides and 3 cm at the top of your custom wardrobe. However, if you have a windowsill or radiator protruding, don't worry. You can make the infill panels wider, allowing your wardrobe to open smoothly. This also applies if you have surface mounted lighting; in that case, a slightly taller upper infill panel provides a great solution.
Taller upper infill panel, accommodating surface mounted lighting
Wider right-side infill panel, accommodating a windowsill with a radiator.
Would you like to design a custom wardrobe online with larger infill panels? This is possible in STEP 2: Above the 3D visualization of your custom wardrobe, you'll see an icon that allows you to adjust your infill panels.

Want to conceal the plinth?
If you prefer a look where the upper infill panel and lower plinth are concealed behind your wardrobe doors, you have that option. If you don't mind the lower part of the doors being slightly less protected against shoe marks or vacuuming, you can opt for longer doors.
With this choice, the doors are extended both at the top and bottom. We leave only a 1 cm gap between the door and the ceiling and between the door and the floor. But remember, for this adjustment, your floor needs to be level, and your ceiling needs to be straight.
Hall wardrobe with doors extending both at the top and bottom.
Dressing wardrobe with doors extending both at the top and bottom.
Would you like to design a custom wardrobe online with longer doors? This is possible in STEP 4. Go to 'options' and choose to make your doors extend longer to the bottom and top.

Installing Your Infill Panels
Installing your infill panels is actually super simple. How to do it in detail is explained with clear illustrations in the installation manual that comes with your DIY kit. In short? You place your infill panels on the left and right between your wardrobe and the wall and secure them with some adhesive and a few screws. You do the same at the top and bottom, but without screws. Easy!
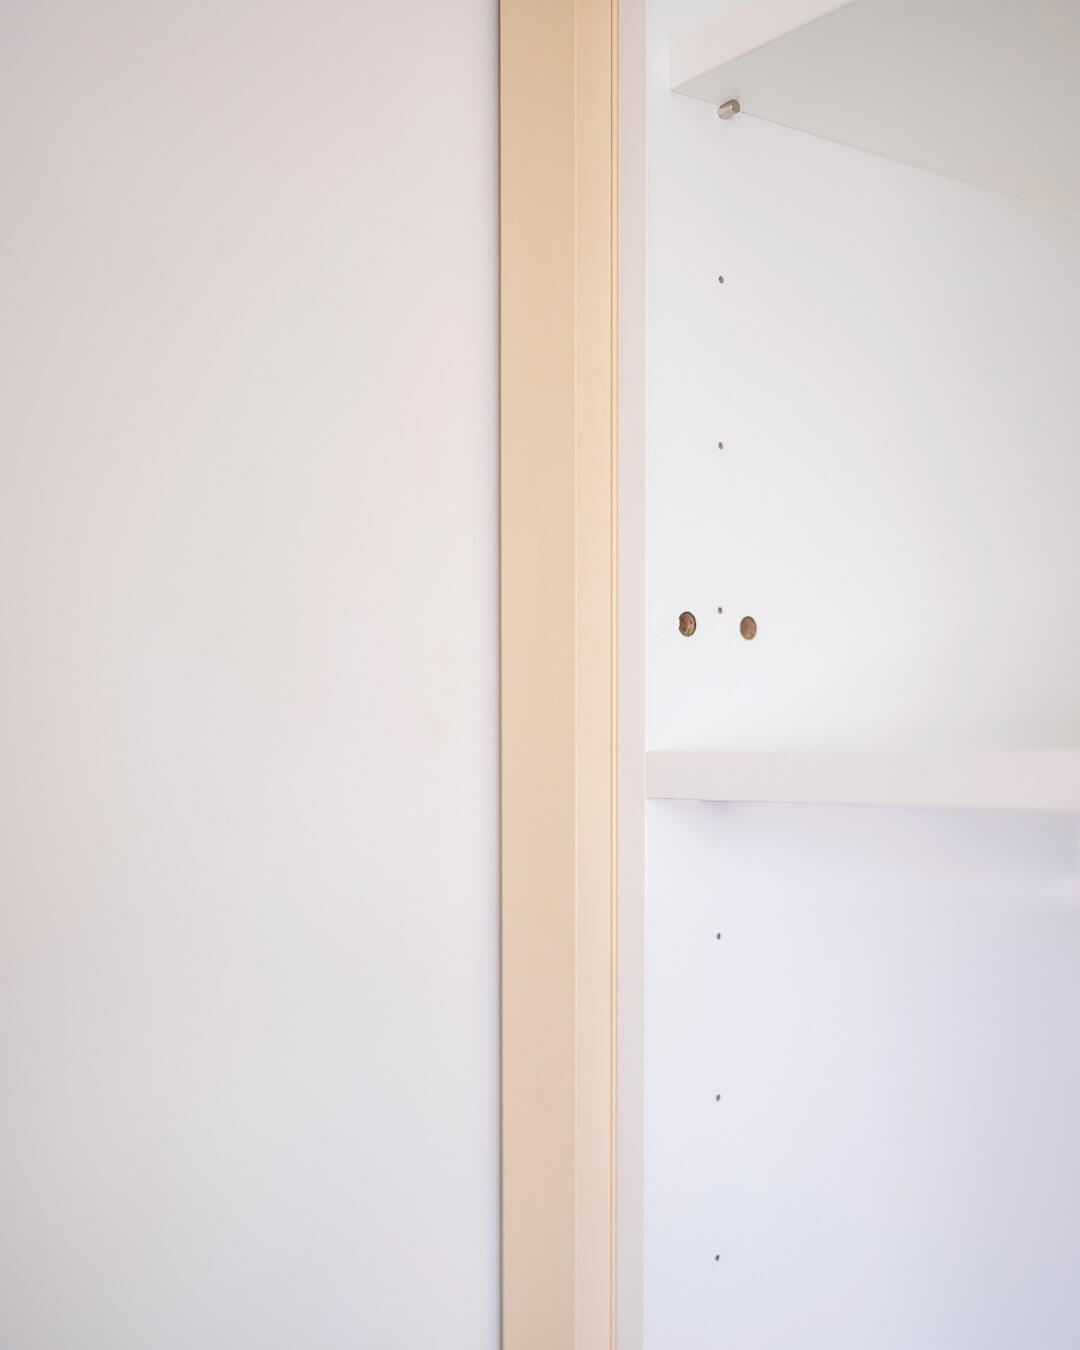
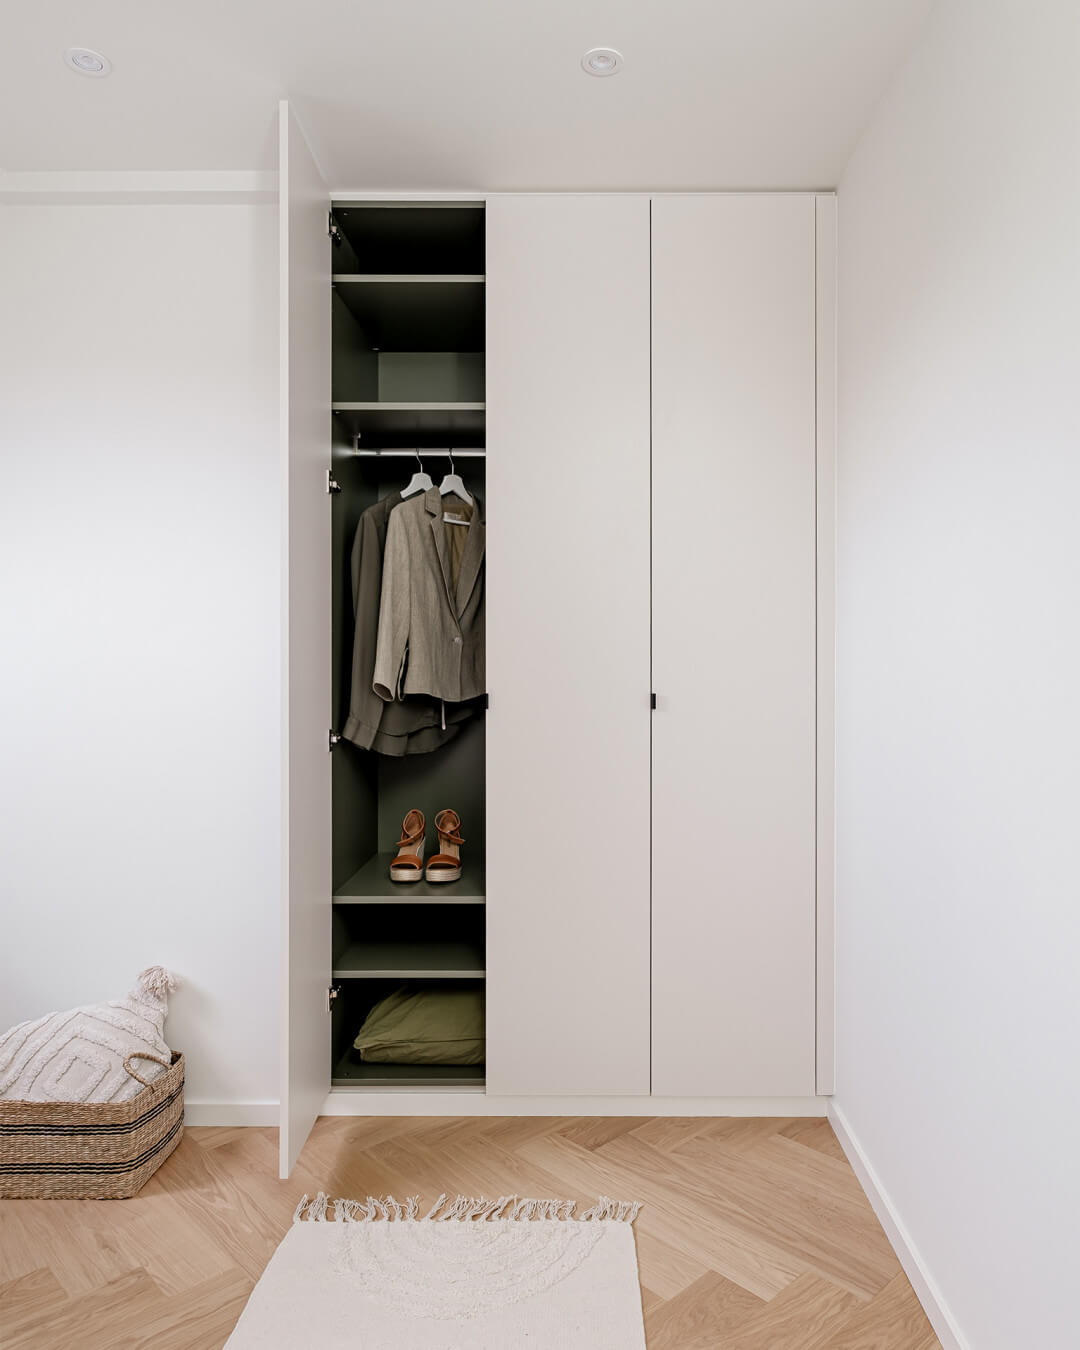
Detail of the infill panel on the left side of the custom wardrobe.
Fully installed - More information about this project
Getting started with your custom wardrobe!
Still unsure? Our team is here for you before, during, and after the purchase and installation of your custom wardrobe. We're happy to advise you on which option suits you best. Feel free to reach out to our customer service. We're here to help!