Back to overview
Assembling drawers like a pro? Check out these helpful videos!
Congratulations on your customized wardrobe with Ta'Or box drawers! Whether you're a seasoned DIY enthusiast or just getting started with custom wardrobes, these instructional videos will guide you through a smooth installation process.
1. What you need to install your drawer
Before you begin assembling the drawer, make sure you have all the necessary items: the drawer itself, 2 couplings, a bottom support with 2 screws, attachments for the front (front fasteners), and the front itself. To assemble everything, you'll need 3 tools: a star screwdriver (or Torx) size TX10 for small screws, a crosshead screwdriver for the front panel, and optionally, a star screwdriver size TX20 if you need to remove the front later. Work on a sturdy surface.
2. Installing the front fasteners on your front panel
The first step is installing the front fasteners on the front panel. Place the fasteners in the designated holes and push them in as far as they go. Preferably, use a crosshead screwdriver instead of a screw machine. Tighten the front until you feel resistance; at that point, it's sufficient. (Using a screw machine may overtighten the screw, causing the fastener's metal to split.) Once all fasteners are tightened, you can attach the front to the drawer. Follow the steps in the next instructional video for this.
3. Installing the couplings, front panel, and bottom support
Before attaching the front, you need to install the couplings. Place each coupling in the provided space (half-moon shape) at the bottom; it should fit perfectly. Note that during insertion, the bottom might slightly drop. Push it back up a bit to ensure proper alignment between the bottom and the side. Now you can attach the front.
Take the front panel and ensure the correct side is at the top. Let the front sink into the designated grooves. Slide the front downwards, and when it clicks into place, it's partially secured. Press on the front to click it firmly into position. (If this doesn't work, you can release the coupling, as demonstrated in the following instructional video.)
Now you can also attach the bottom support. Flip the drawer over, with the front facing down. Place the bottom support in the designated holes. Screw the screw at the back in place using a Torx TX10 screwdriver. Then, tighten the screw at the front. The drawer is now ready to be placed on the guides.
4. What if I can't attach my front panel to the drawer?
If you're having trouble mounting the front, don't worry. It likely means that the mechanism in the side walls of the drawer has been inadvertently pushed backward, but this is not a problem. To fix this, insert a screwdriver into the bottom hole at the base of the drawer. When you push and hear a 'click,' the mechanism in the side wall will spring forward. Now you can mount the front: Let the front sink into the grooves, slide to engage, and then click firmly into place.
5. Detaching the front panel
To remove the front, follow these steps: First, detach the bottom support. Then, use the bottom hole at the back of the drawer. Insert your Torx TX20 screwdriver and push against the metal. This action will automatically release your front.
6. What are the two holes at the bottom of my drawer for?
Using the top hole allows you to adjust the front, raising or lowering it with a Torx TX20 screwdriver. This is useful when the cabinet is fully assembled, all drawers are in place, and you want to ensure uniform gaps between the drawers.
The bottom hole is designed to release the front. By pushing it with your Torx TX20 screwdriver, the front will automatically detach.
Have questions about assembling your drawers or cabinet?
Feel free to check out these assembly guides for additional assistance.
If you need further help or have inquiries, contact our team via chat, phone, or WhatsApp on weekdays between 9 am and 5 pm. Alternatively, you can send us an email at aftersales@maatkastenonline.
We are ready and delighted to assist you! 😊
Curious about the materials used in your custom cabinets?
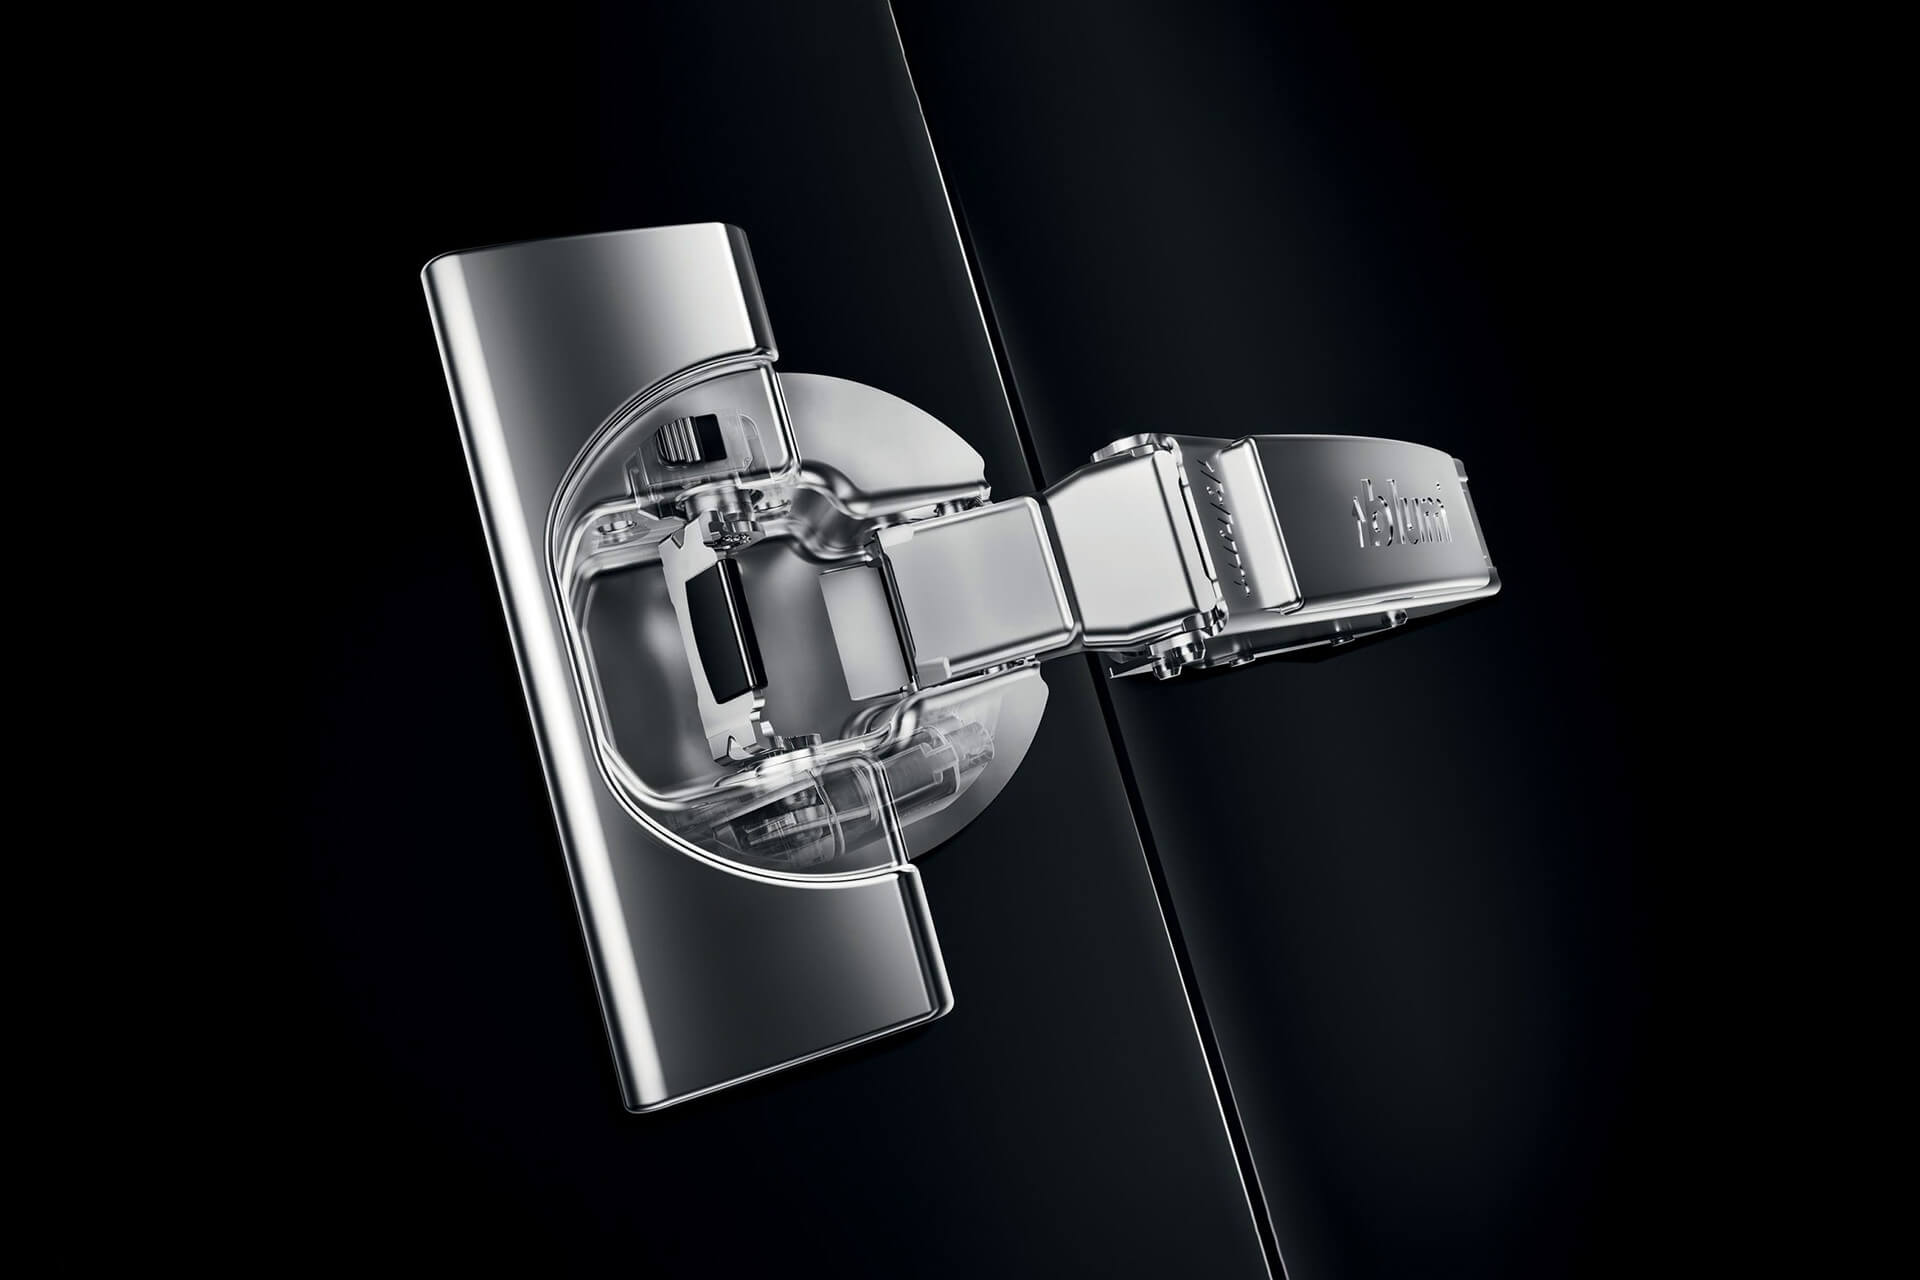
Your custom cabinet is crafted with high-quality carpentry materials, including the award-winning Ta'Or box drawers, premium Blum soft-close guides and hinges. We exclusively use professional interior panel material from Unilin, while stylish design handles provide the perfect finishing touch. Are you interested in our craftsmanship and the unparalleled quality of our custom cabinets?